Steel Brain: Literally. The Necrons Edition.
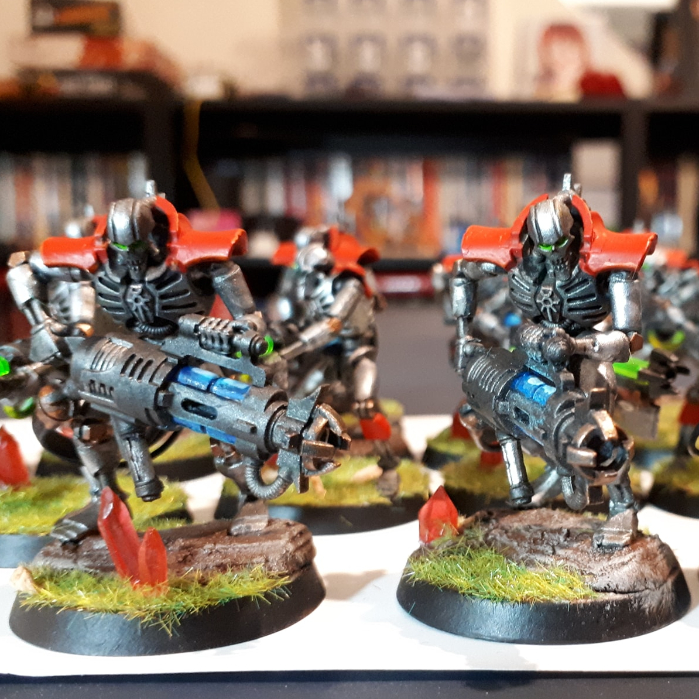
Today we release the Necrons opus at long last! With a shining legion of new models and plenty of flashy new rules to sink our metal teeth into, this is a super exciting time for skirmish Necrons. If we could feel. Which we don’t remember if we can or not.
Let’s look at two different warband builds through the cold metallic lens of having fun gaming!
#1 - The Proclaimers
First I thought of a Royal Warden heading out to extend a diplomatic hand, flanked with their most elite bodyguard for a show of technological superiority - with a surprise lurking in the shadows.
Dynasty:
Sautekh
Philosophy:
Superiority
Leader:
Royal Warden
Core:
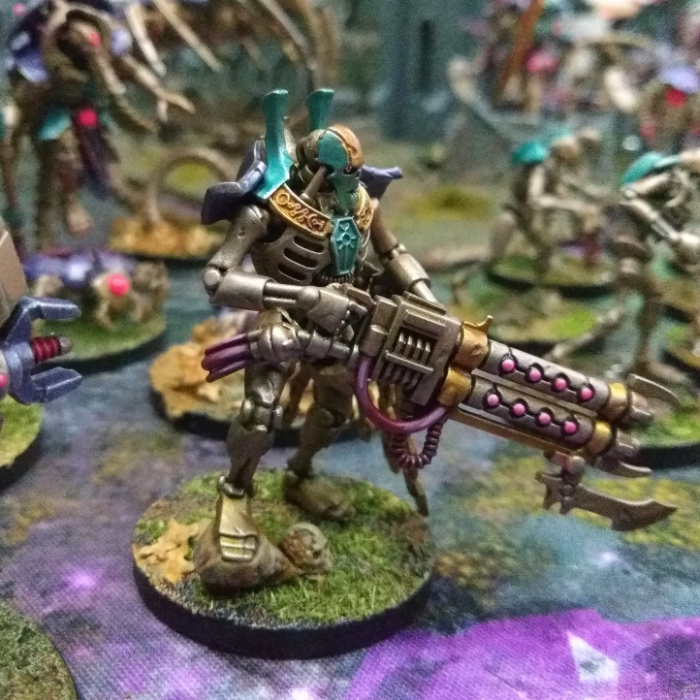
2 Eternals with Gauss Blaster
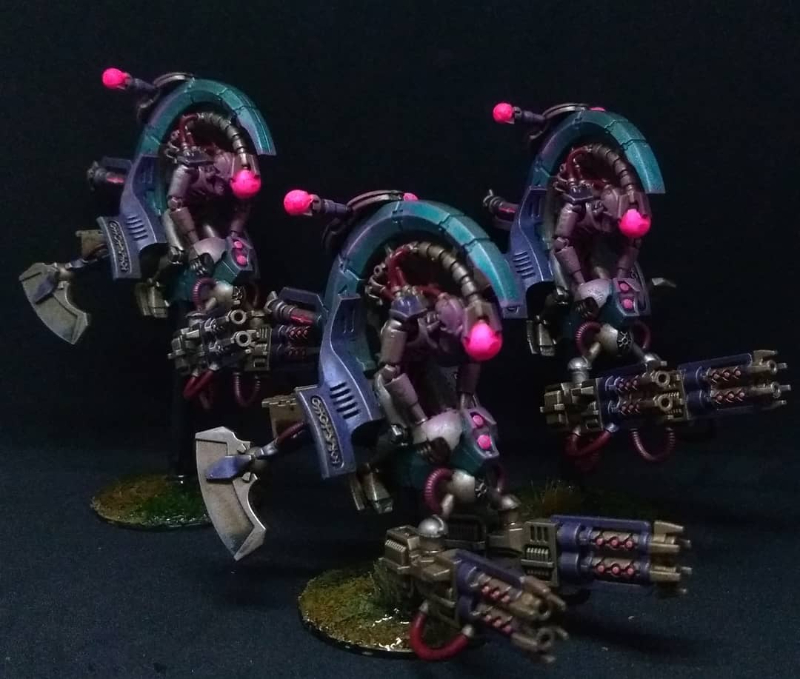
Tomb Blade with Twin Gauss Blaster, Shieldvanes.
Scarab Swarm
Deathmark
Special:
Lesser Cryptek (Herald of Technomancy), Crypt Cape
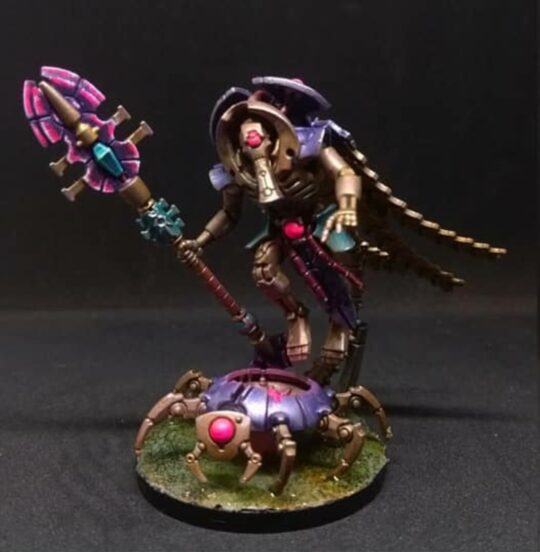
Let’s start with the Royal Warden. 75 points. It does pretty much everything we need it to straight out of the box, namely keeping us active and mobile in the shooting and fight phases, so we don’t need to spend much more here. Note that we do have the Noble keyword, so we’ll get to use Command Protocols!
I’m choosing the Sautekh dynasty - getting the extra range on double-tapping Rapid Fire weapons is going to be very useful! The rest is just icing on the cake.
We’re keeping our Warden alive with a select bodyguard - two Eternals, a chunkier and costlier version of the Immortal, and give them each a Gauss Blaster. The Warden surviving helps everyone else to survive and keep killing!
Not enough Gauss Blasters yet? Add a Tomb Blade with twin Gauss Blaster, and shieldvanes for a 3+ save.
The Lesser Cryptek is here to show the technological magic of the Necron war machine. It can fly to where it’s needed to hand out its reanimation buffs, and that’s often going to be baby-sitting a Scarab Swarm. We don’t expect our little parade to go about its business in peace, so in a hyperspace oubliette sits a single Deathmark.
We’re going for Thorough Recon as a secondary - Cryptek and Scarabs go one way, Tomb Blade goes the other, Infantry hold our starting quarter and the Deathmark arrives in the back field. Attrition also works nicely, with a small number of hard-to-kill models on our warband and plenty of high Strength, high AP weapons.

18” is our sweet spot for range, taking in the Blasters and the Cryptek’s staff of light. If we’re playing against something super elite like Blightlords or Custodes, we can play into that with the Necron Secondary “Transmit Neuropulse.” It’s a lot like Deploy Scramblers, but you have to do it four times, once in each table quarter and further than 6” from any enemies.
Easy when there aren’t many of them and we move quickly and appear out of nowhere! We shouldn’t be able to get pinned down, between the Warden’s abilities and the Conquering Tyrant protocol radiating from two characters. You probably want that one in round 3, but peak timing may vary.
That 18” perfect range means we like going second, as we’re typically at least 24” away from the enemy on deployment, but if you’re afraid of some fast-moving alpha-strike type charge, you can boost up with the Tomb Blade and Cryptek and try to melt whatever is worrying you.
Once you’ve got two objectives locked down and the enemy converges on the others, throw out the Solar Pulse stratagem for a very effective killzone. If you can combine it with the Protocol of the Sudden Storm or Vengeful Stars (or parts of both, using the Exacting Protocols Inspiration!) even better…
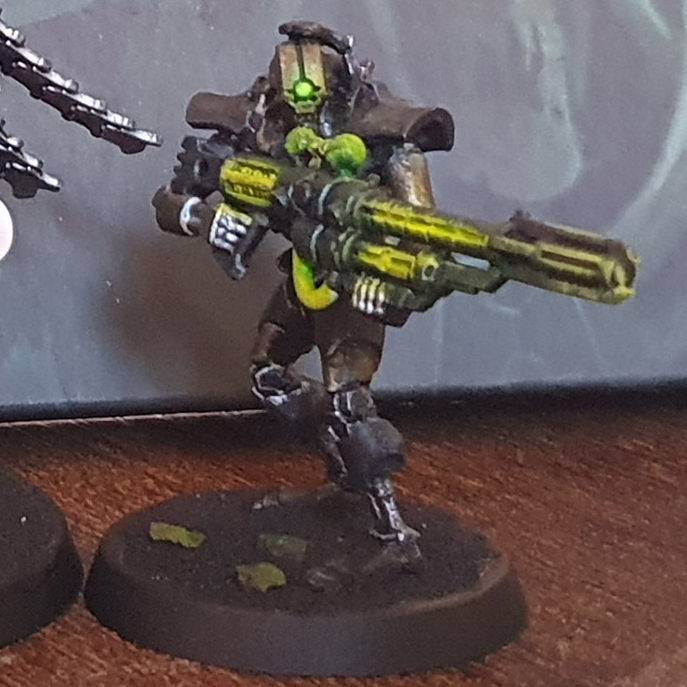
#2. Inferiority Tomb Complex
This one's by Alex, featuring a lesser cryptek who has this feeling of ineptitude and tries to make up for it by taking as many fancy tools as possible. But hes insufferable, even by Necron standards, so no other Necrons will work with him and he has to bring canoptek things to.get anything done. He doesn't even get to lead his own warband, as you can see...
Charnovokh dynasty. Philosophy: The Swarm
L: Canoptek Sypder with Particle Beamer
C: 4 x scarab swarms
S: Wraith with Vicious Claws
Lesser Cryptek
Chronomatic Reversal Lance
Herald of Destruction
Crypt Cape
Chronometron
Sphere of False Life

#3. Chrome of the Crop
Finally here's one by Teis, making use of some finely-tuned dynastic codes to make the most of some powerful units!
Dynasty: Superior Artisans, Timely Precaution (rerolls of 1 for 5 of your models, overwatch hits on 5 or 6)
Philosophy: Superiority
Secondary Missions: Neuro Pulse, Attrition (or Assasinate if two enemy characters are present)
L: Drak’kon The Eternal, Praetorian Agent, Rod of Covenant, Distortion Emitter, Ebonite Mantle
C: 2x Triach Pratorians
2x Deathmarks
1x Deathstalker
1x Canoptek Scarab Swarms
S: 1x Hexmark Destroyer
Tactics: Deploy the Triarch units out of sight and preferably somewhat together. Deploy the Scarab where it can easiest get to the table quarters without meeting resistance, or in a pinch where it can get support from the Triarchs. This warband prefers to go second if you can swing it!
In your turn one, you move up the Triarch within striking distance but still out of sight, taking advantage of their high Move value and the Solar Mills! (3D6 charge) stratagem. With good placement, you might be able to waste your opponent's first two turns!
On your turn two drop the Deathmarks where you have good sight to the enemy but is far away from them. The Hexmark can also drop in behind enemy lines and kill stragglers or even the enemy leader if they spread out. The Deathmarks also give you a reasonable chance at bagging most Leaders.
Necron warbands on the whole are not numerous enough to have models idling, and this one is no different! Don't be too afraid of sending your own leader in to do work, as he is very tanky - just try to make sure you don't lose him. Make sure to complete the Neuro Pulse objective even if it costs you some of the Triarch models.
The Deathstalker is a bit squishy, but can also be used for the Neuropulse objective if you lose the Scarab.
Make good use of the Relentless Will aura - meaning you can hand out +1 to hit every phase. Use it on the Leader or a Triarch in melee, and the Hexmark for shooting. Superior Artisans should make sure you hit those telling shots, and over the course of the game, Timely Precaution should have the enemy think twice about charging down your lone gunners or any of the Triarchs.
One thought on “Steel Brain: Literally. The Necrons Edition.”
Great job keep these coming!